Optional affiliate cookies help us credit the partner who introduced you to Acrelio. Affonso receives referral and device information only after you allow them. If you create a landlord account, we also share an internal account ID to credit later Pro payments. Referral cookies last up to 90 days. Your choice is saved for 180 days.
Move-In vs Move-Out Inspections: What Records Should Landlords Keep?
A strong move-in and move-out inspection process creates comparable records of property condition, photos, dates, acknowledgments and follow-up work.
Acrelio Editorial··9 min read
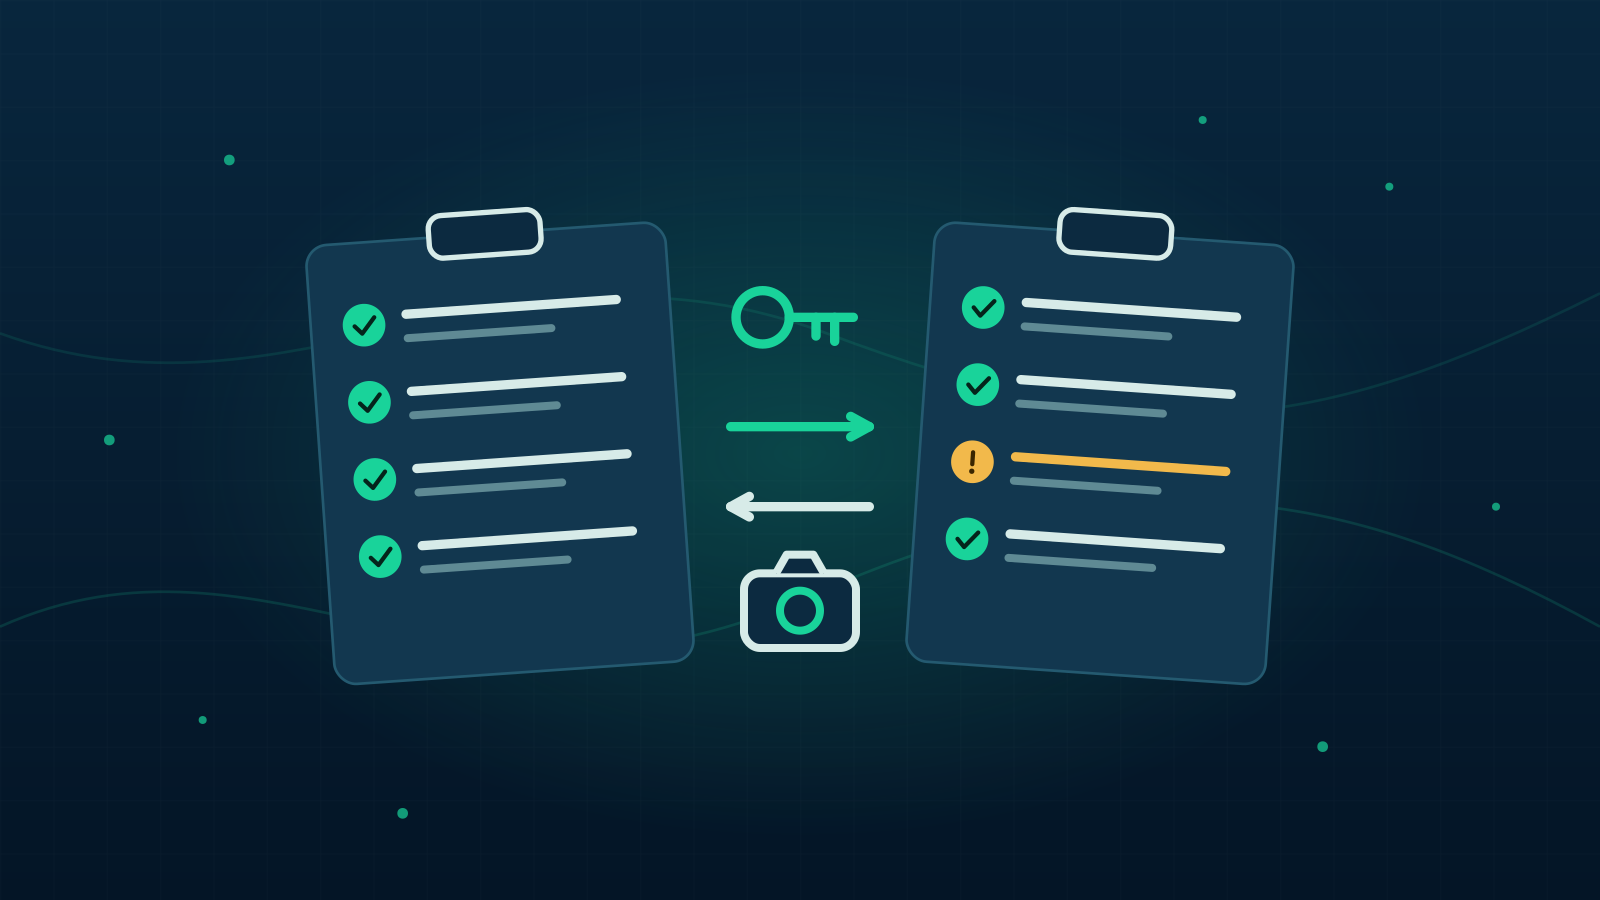
Move-in and move-out inspections are two parts of the same record.
The move-in inspection establishes the condition of the rental near the beginning of a tenancy.
The move-out inspection documents condition near the end.
When both are organized consistently, landlords can compare the same areas, preserve evidence and make turnover decisions with better context.
The quality of the record matters more than the number of photos.
Use the same inspection structure at move-in and move-out
Comparison is easier when both inspections follow the same order.
A practical checklist may include:
Entry and locks
Living areas
Bedrooms
Kitchen
Bathrooms
Floors
Walls and ceilings
Windows and doors
Appliances
Plumbing fixtures
Electrical fixtures
Heating or cooling equipment
Exterior areas when applicable
Furnishings when provided
Keys, remotes or access devices
The exact checklist should match the property.
Consistency is what makes before-and-after comparison useful.
Record condition, not only defects
An inspection should document normal condition as well as problems.
Instead of photographing only damage, preserve representative evidence of areas that are in good condition.
That creates a more balanced baseline.
For example:
Move-in:
Bedroom wall clean, no visible marks
Flooring intact
Window screen present
Closet door opens normally
Move-out:
Compare the same areas
Note visible changes
Preserve photos when condition differs
The goal is a factual record.
Include dates and property context
Every inspection record should clearly identify:
Property
Unit
Tenant or tenancy
Inspection type
Date
Person performing the inspection
Photos should be tied to the same inspection record.
A camera roll full of images is much harder to interpret later if the landlord cannot tell which tenancy or inspection they belong to.
Take useful photos, not just many photos
More photos do not automatically create better evidence.
A useful inspection photo should make the subject clear.
Consider:
Wide photo for room context
Closer photo for a specific condition
Consistent angle when practical
Adequate lighting
Clear association with the inspection item
When comparing move-in and move-out, similar viewpoints make changes easier to understand.
Acrelio's inspection evidence workflows support photo records and before/after comparison surfaces so condition evidence can stay connected to the move process.
Do not replace the original evidence
Inspection evidence is strongest when the original record remains preserved.
If a display-friendly derivative is needed for a browser or report, it should not silently replace the authoritative original evidence.
That principle is especially relevant for image formats that may need conversion for display.
Acrelio's evidence design keeps the original file and hash as the authoritative evidence record while allowing display versions where needed.
Use written notes to explain what the photo cannot
A photo can show condition.
It may not explain:
Whether an appliance works
Whether a door sticks
Whether there is an odor
Whether a fixture leaks intermittently
Whether a key was missing
Whether the tenant reported an issue
Short written notes give context to the visual record.
The best inspection evidence combines structured checklist items, notes and photos.
Tenant acknowledgment can reduce ambiguity
Where appropriate, giving the tenant an opportunity to review or acknowledge the inspection record can create a clearer shared reference point.
Acknowledgment does not necessarily mean agreement with every conclusion.
It can simply document that the inspection record was presented.
Acrelio includes Tenant Acknowledgment surfaces as part of its inspection and move-related workflows.
Landlords should follow local legal requirements for inspections, deposits and notices.
Move-in inspection checklist
At move-in, focus on establishing a baseline.
General
Confirm property and unit
Record inspection date
Record tenant or tenancy
Note keys and access devices
Condition
Walls and ceilings
Floors
Doors and locks
Windows
Cabinets and counters
Plumbing fixtures
Appliances
Lighting
Heating/cooling equipment
Smoke or safety devices where appropriate
Evidence
Representative room photos
Close-ups of existing damage
Notes for non-visible issues
Tenant acknowledgment when part of the workflow
The move-in record should make it possible to understand what condition already existed.
Move-out inspection checklist
At move-out, use the same structure.
Compare
Review move-in condition
Inspect the same rooms and fixtures
Capture comparable photos
Note material changes
Operational follow-up
Identify maintenance
Identify cleaning or turnover work
Record missing keys or access items
Preserve vendor work if repairs follow
Connect relevant costs to the turnover workflow
Reconciliation
Keep condition records available for deposit-related review
Preserve the evidence used
Generate reports when needed
Maintain tenant acknowledgment or communication records where appropriate
The move-out record should explain what changed and what happened next.
Distinguish normal wear from damage carefully
This is an area where landlords should avoid oversimplification.
What counts as normal wear, damage or chargeable condition can depend on:
Local law
Lease terms
Age and condition of the item
Length of tenancy
Facts of the specific situation
Software should not make that legal determination automatically.
The inspection record should preserve factual condition evidence so the landlord can apply the appropriate rules and professional advice.
Connect move-out condition to maintenance and expenses
A move-out inspection often creates follow-up work.
Examples:
Painting
Cleaning
Appliance repair
Flooring work
Lock changes
Plumbing repair
Those activities should connect back to the turnover context.
That makes it easier to understand:
What work was required
Which vendor completed it
What it cost
Whether it extended vacancy
Move-out records, maintenance and vacancy cost are closely related.
Generate a durable report
A good inspection system should make the record reviewable after the inspection is complete.
A report may include:
Property and tenant context
Inspection date
Checklist items
Notes
Photos
Before/after comparisons
Acknowledgment information
Acrelio includes report and PDF surfaces for inspection evidence so landlords can preserve and review the completed record.
Keep records for the full operational lifecycle
Inspection records should not disappear once a new tenant moves in.
They may be useful for:
Deposit reconciliation
Maintenance history
Turnover analysis
Vendor work
Future condition comparisons
Dispute documentation
Retention requirements vary, so landlords should follow applicable local rules.
Move-in and move-out should be designed as one comparison
The strongest inspection process does not treat move-in and move-out as unrelated tasks.
The move-in record creates the baseline.
The move-out record creates the comparison.
When both use the same structure, the landlord gets a clearer history of the property and the tenancy.
That is the real purpose of the checklist:
Not to create more paperwork, but to create a reliable before-and-after record.